Contact us
For more information please contact one of our Solution or Service experts today.

We can all agree the threat of cybersecurity incidents grows every year as attacks become more…

Do you feel like your efforts to simplify network operations are being outpaced by growing network…

Microsoft 365 is a powerful collaboration platform that brings together a suite of productivity tools….

Data. To borrow a quote from Winston Churchill, “It’s a riddle, wrapped in a mystery inside an…

There have been few developments in technology that have inspired the same level of debate as cloud. In…

MercyCare enhances security posture with 24/7 managed soc from Data#3 and SecurityHQ Download Customer…

April 10, 2023; Brisbane, Australia: Leading Australian technology services and solutions provider,…

March 28, 2024; Brisbane, Australia – Data#3, a leading Australian provider of technology services and…

Introducing Surface Laptop 6 and Surface Pro 10, the two newest devices that are showcasing exactly how…

Not ready for Copilot? Transform with these other Microsoft AI Solutions It’s lurking behind all your…
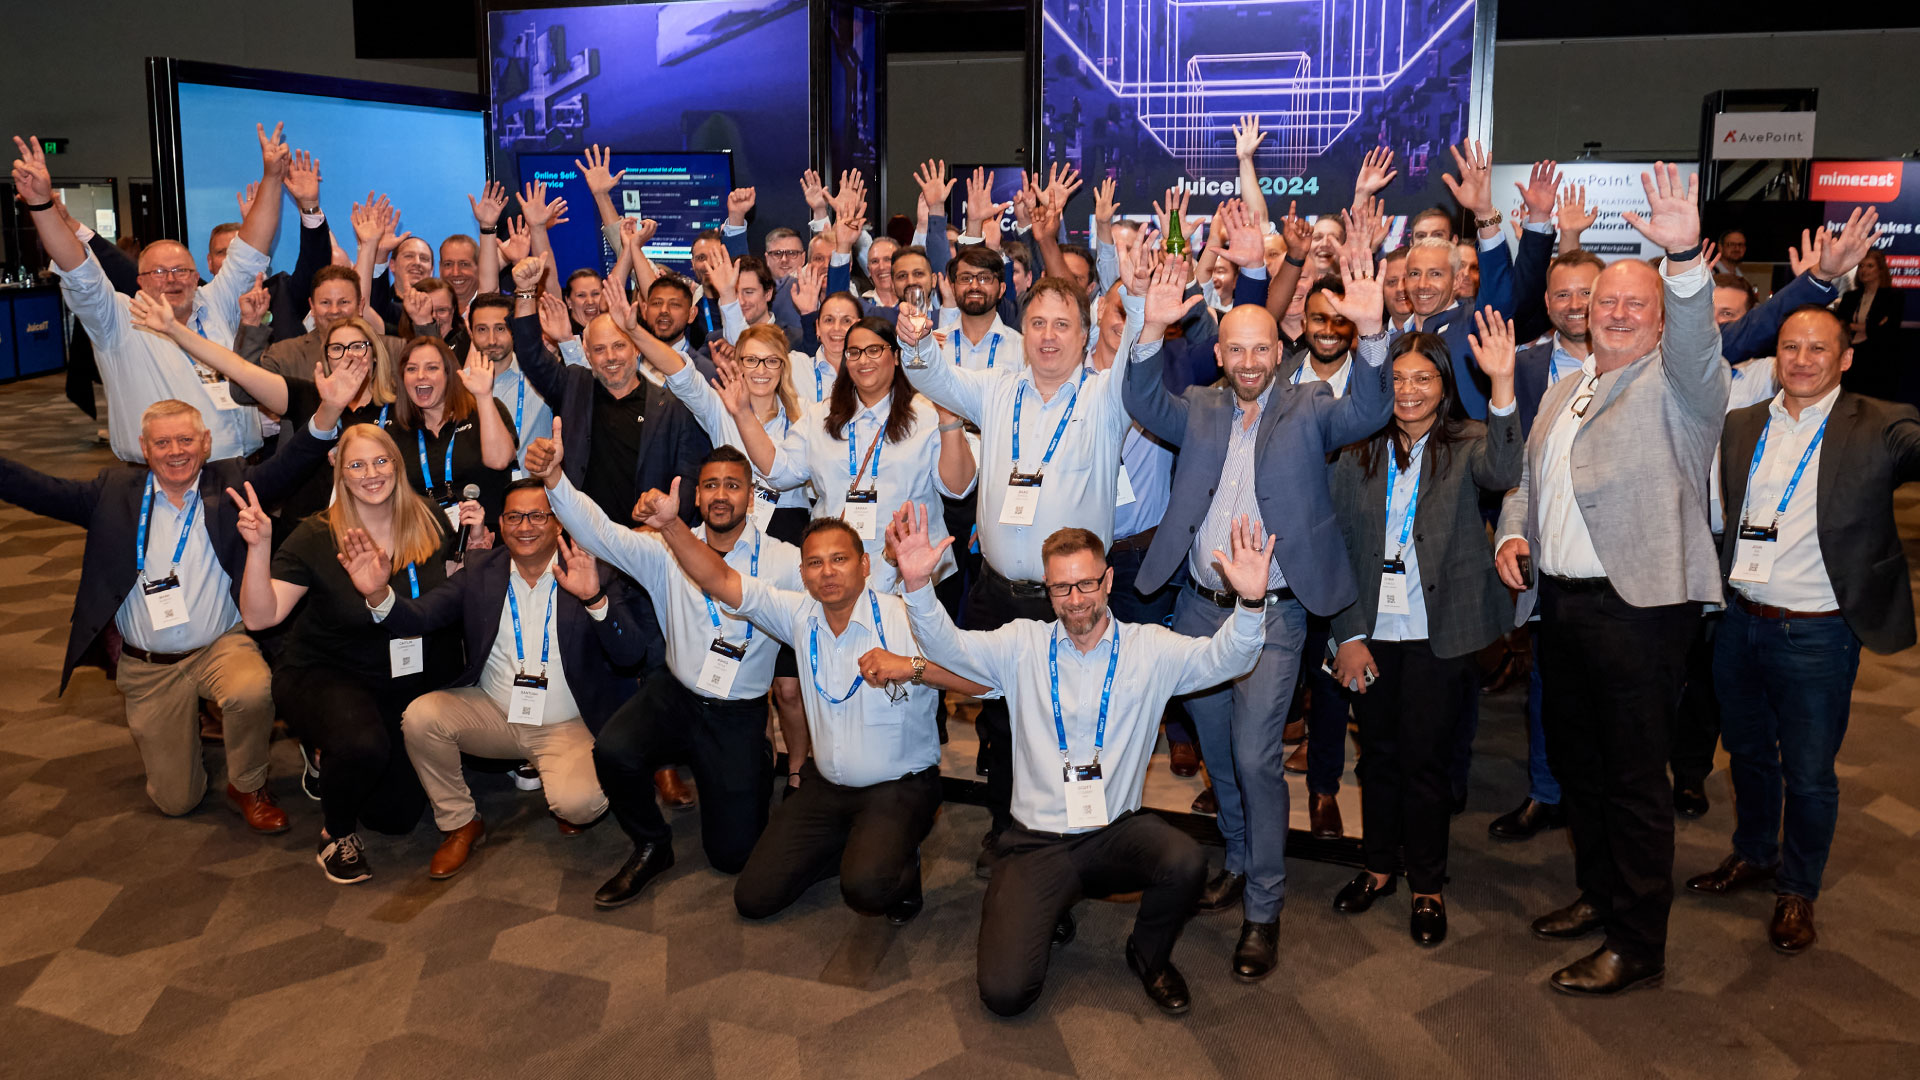
Video highlights from JuiceIT 2024 Brisbane March 22, 2023; Brisbane, Australia: Leading Australian…

We expect a lot from our networks – they must support hybrid work and cloud-centric models, stay on top…

For more information please contact one of our Solution or Service experts today.